USB Disk Boot
USB disk boot is a boot method in U-Boot for booting devices via an USB disk.
Genio 510/700-EVK and Genio 1200-EVK support USB disk boot (via USB host port) in U-Boot since IoT Yocto v24.1. It also provides support for booting via the native usb_boot script in U-Boot.
To use USB disk boot, simply use an image tool such as rufus or dd to flash the image onto the USB disk. Therefore, users will need to build the wic raw image format for IoT Yocto.
Here, we provide a very simple example for USB disk boot on U-Boot.
Build and Deploy IoT Yocto Image via USB disk boot on Genio EVK
Developers can build the rity-demo-image and then boot the kernel and mount the file system via USB disk on Genio EVK.
To reduce build/flash time and image size, users can also try the rity-bringup-image to test this feature.
The following sections describe the instructions to build and deploy IoT Yocto with raw image support and EFI (Extensible Firmware Interface) support for USB disk boot.
Build IoT Yocto Supporting Raw Image
Edit your conf/local.conf to include the necessary settings for building a raw image with rity-bringup-image.
IMAGE_FSTYPES:append = " wic "
Build the rity-bringup-image:
MACHINE=genio-1200-evk bitbake rity-bringup-image
Deploy USB Disk Boot with IoT Yocto Raw Image
Once the build is complete, locate the output files, which are typically found in the tmp/deploy/images/ directory within the corresponding MACHINE folder.
For example, if a user wants to boot Genio 1200-EVK via USB disk boot.
Important
Please ensure that the EVK has a functional boot chain on the main storage, which can be either eMMC (embedded MultiMedia Card) or UFS (Universal Flash Storage), to support booting from an USB disk.
If the user is unsure whether the firmware supports USB disk boot, please flash the new build rity-bringup-image on the EVK.
Then, deploy the raw disk image rity-bringup-image-genio-1200-evk.rootfs.wic to the USB disk. We suggest using rufus on Windows OS and dd on Linux OS to flash the raw disk image to the USB disk.
For Windows OS, you can use rufus to flash the raw disk image.
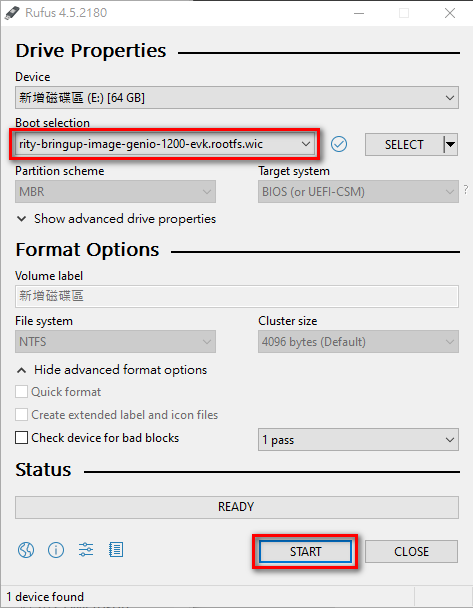
Rufus: Select The RAW Disk Image And Click “START” To Flash The USB disk.
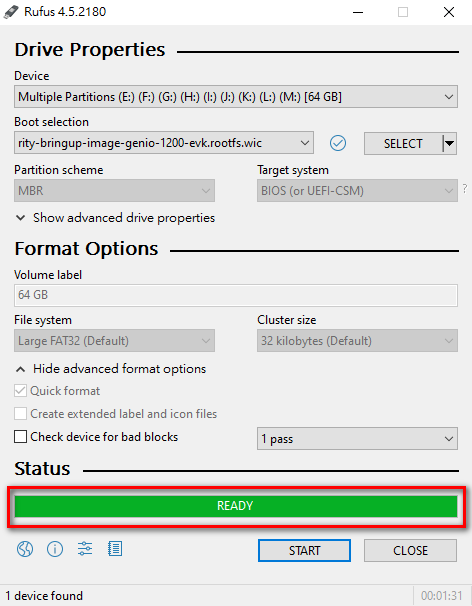
Rufus: The Process Of Flashing The RAW Disk Image Is Complete.
For Linux OS, unmount the USB disk before using dd if the system detects and mounts it.
sudo umount /dev/sdX
sudo dd if=rity-bringup-image-genio-1200-evk.wic of=/dev/sdX bs=1M
sudo sync
sudo udisksctl power-off -b /dev/sdX
Remove the USB disk from the PC after flashing it, then insert it into the USB disk slot on the EVK.
Run the following command to reboot the system:
reboot
Hit any key when you see the message “Hit any key to stop autoboot”
Run the following commands in U-Boot mode:
setenv boot_targets usb0
setenv storage usb
setenv storage_dev 0
setenv distro_bootcmd 'usb start; for target in ${boot_targets}; do if test "${target}" != "embedded"; then dtbprobe ${storage} ${storage_dev} ${dtb_path}; fi; run bootcmd_${target}; done'
setenv bootargs /dev/sda10
saveenv
reset
Important
Ensure that you place
usb startindistro_bootcmdbefore all other probing scripts. This initiates the USB host controller and prevents probing script failures.Add
setenv bootargs /dev/sda10to inform the kernel to mount the root filesystem from the USB disk. However, IoT Yocto have also added rootfs=PARTLABEL=rootfs by default, the kernel will still attempt to mount the root filesystem from eMMC first. You can modify this line inmeta-rity/meta/recipes-bsp/u-boot/files/boot.scriptto suit your needs. To mount /dev/sda10 as the root filesystem, simply delete /dev/mmcblk0p10 usingfdisk /dev/mmcblk0and then reboot the EVK. Once the partition with PARTLABEL=rootfs is gone, the kernel will attempt to mount the root filesystem from /dev/sda10 on the USB disk.
After reboot, the boot firmware on eMMC will load DTB, kernel, and rootfs from the USB disk.
U-Boot 2022.10-gf7a807b03b (Dec 23 2024 - 11:06:43 +0000)

... is current device
Scanning usb 0:8...
...
Scanning usb 0:a...
Found U-Boot script /boot/fitImage

... is current device
...
usb read: device 0 block # 421888, count 65536 ... 65536 blocks read: OK
## Loading kernel from FIT Image at 4a000000 ...
Build IoT Yocto Supporting Raw Image with EFI Boot Enabled
Users can also boot the USB disk via the EFI boot process. Users need to build IoT Yocto with EFI support.
Edit your conf/local.conf to include the necessary settings for building a raw image with rity-bringup-image.
Remember to also add raw image support to this build.
MACHINE_FEATURES:append = " efi "
IMAGE_FSTYPES:append = " wic "
Build the rity-bringup-image:
MACHINE=genio-1200-evk bitbake rity-bringup-image
Deploy USB disk boot with IoT Yocto with EFI Boot Enabled
Once the build is complete, locate the output files, which are typically found in the tmp/deploy/images/ directory within the corresponding MACHINE folder.
For example, if a user wants to boot Genio 1200-EVK via USB disk boot.
Important
Please ensure the EVK has a functional boot chain on the main storage (eMMC or UFS) to support USB disk boot.
If the user is unsure whether the firmware supports USB disk boot, please flash the new build rity-bringup-image on the EVK.
Then, deploy the raw disk image rity-bringup-image-genio-1200-evk.rootfs.wic to the USB disk. We suggest using rufus on Windows OS and dd on Linux OS to flash the raw disk image to the USB disk.
For Windows OS, you can use rufus to flash the raw disk image.
For Linux OS, unmount the USB disk before using dd if the system detects and mounts it.
sudo umount /dev/sdX
sudo dd if=rity-bringup-image-genio-1200-evk.wic of=/dev/sdX bs=1M
sudo sync
sudo udisksctl power-off -b /dev/sdX
Remove the USB disk from the PC after flashing it, then insert it into the USB disk slot on the EVK.
Run the following command to reboot the system:
reboot
Hit any key when you see the message “Hit any key to stop autoboot”
Run the following commands in U-Boot mode:
setenv boot_targets usb0
setenv storage usb
setenv storage_dev 0
setenv distro_bootcmd 'usb start; for target in ${boot_targets}; do if test "${target}" != "embedded"; then dtbprobe ${storage} ${storage_dev} ${dtb_path}; fi; run bootcmd_${target}; done'
saveenv
reset
After reboot, the boot firmware on eMMC will load DTB, kernel, and rootfs from the USB disk.
When EFI boot is enabled, U-Boot will boot into GRUB. Press ‘e’ to edit the boot menu in the GRUB menu.
                                GNU GRUB  version 2.06

-----------------------------------------------------------------------------------------
|setparams 'boot'                                                                       |
|                                                                                       |
|        linux /Image.gz root=PARTLABEL=rootfs rootwait console=ttyS0,921600            |
Then replace root=PARTLABEL=rootfs with root=/dev/sda10.
                                GNU GRUB  version 2.06

-----------------------------------------------------------------------------------------
|setparams 'boot'                                                                       |
|                                                                                       |
|        linux /Image.gz root=/dev/sda10 rootwait console=ttyS0,921600                  |
Press ‘ctrl-x’ or ‘enter’ to boot from GRUB menu.
Important
When booting the OS via EFI boot, the boot arguments bootargs might not be able to pass to the kernel cmdline.
The user should specify the root partition in the GRUB menu.
If the user does not want to modify the GRUB menu every time, they can make the following change.
vim /etc/fstab or vi /etc/fstab
Mark the line which specifies LABEL=BOOT, and add a new line.
# LABEL=BOOT /boot vfat defaults 0 0
/dev/sda8 /boot vfat defaults 0 0
Then mount the /boot partition to modify grub.cfg.
mount /dev/sda8 /mnt
vi /mnt/EFI/BOOT/grub.cfg
Replace the kernel cmdline parameter root=PARTLABEL=rootfs with root=/dev/sda10.
Then you’ll have an environment that can boot the OS from the USB disk without any manual operation.